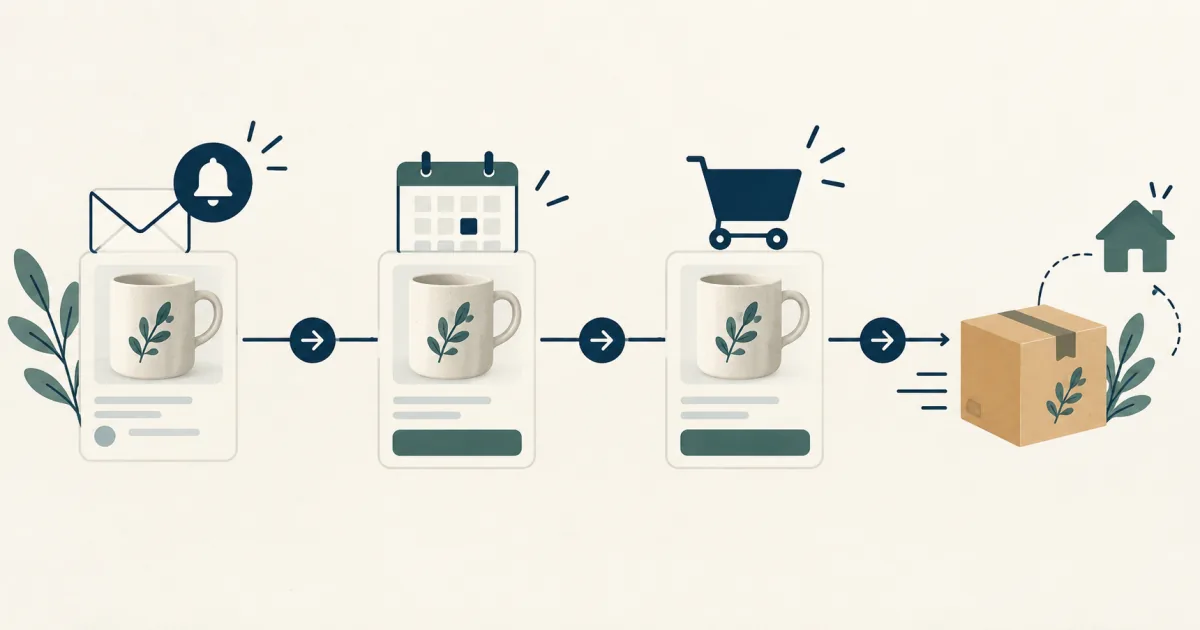
As launch day approaches, more customers start asking "when can I buy it?" Many shops struggle with how to answer while they cannot take orders yet.
At this pre-order stage, what matters is not simply collecting email addresses. It is telling people exactly what signing up will bring them, and deciding when the notification goes out before you start collecting.
With SellRules, the "Announcement" phase of a sales schedule shows an email signup form on the product page. Signups accumulate in the "Waitlist", and when pre-order intake begins, a "launch notification" is automatically sent to the customers who registered. This article works through the flow in order: deciding what to say, building the schedule, testing the notification, and checking the state after the start.
Decide what to tell customers before taking orders
The first thing to decide is what you are promising the people who sign up. All a pre-launch signup can promise is "we will tell you when pre-orders or sales begin" — not reserving the product, and not a right to buy. Write this distinction separately into the product page and the signup form's explanation.
| What customers want to know | What to write on the product page and form |
|---|---|
| When can I pre-order? | The planned pre-order start date and time (if decided) |
| What will I receive if I sign up? | That a "pre-order start" email will arrive |
| Does signing up mean I can buy? | That signup is neither a purchase nor a hold |
| When will it ship? | A rough shipping estimate |

For example, imagine a shop introducing a new candle launching next month on social media. If the copy only says "we'll let you know on launch day", people who sign up may believe they have "pre-ordered", or think "I can already buy" the moment the notification arrives. Adding "we'll email you when pre-orders begin" and "please purchase after the pre-order start" reduces questions after launch.
One caution here: do not treat the signup count as a purchase guarantee. Not everyone who receives the notification buys; the count is only a measure of interest. Decide purchasing and production quantities through normal sales planning, not from signups alone.
If all you need is "hide the product page until launch day", Shopify's scheduled publishing may be enough. The announcement phase helps when you want the page visible while collecting signups. For how to decide on sales rules overall, see the early-access and limited sales overview.
Show the signup's purpose and conditions near the form
Next, state clearly near the signup form what the address is kept for, and when and what will be sent. A state where customers can sign up without misunderstanding reduces questions and unsubscribes later.
During the SellRules announcement phase, the product page's buy button changes to a "Notify me when available" display and an email field appears. For a new product launch, wording that reads like a restock can be confusing, so under "Settings → Storefront wording" you can adjust the signup form text to something like "Get the launch notice", matched to your own guidance. The wording can be set per language, and fields left blank fall back to the automatic display in the customer's language.
Registered addresses accumulate in the app's "Waitlist", and customers can unsubscribe at any time from the stop link in the email they receive. For products with colours or sizes, the variant each signup belongs to is recorded too, so you can later see which options are drawing interest.
Decide alongside the signup explanation that collected addresses will not be used for anything other than the "pre-order start" notice. The list can also be exported as CSV. It is UTF-8 encoded, so to open it in Excel use "Data → From Text/CSV" and specify UTF-8 on import.
Build the run-up to the pre-order start as a schedule
The flow from accepting signups to the pre-order start is set as the dates of a sales schedule. Dates cannot be saved unless they follow "announcement start < pre-order start < regular sale start", so writing out the whole plan first makes entry easier.
1. Write down the dates and what you will say
Organise the day the announcement begins, the pre-order start date and time, when you move to regular sales (or "end while still in pre-order"), and the shipping estimate you will tell customers. Note at this point where you would update things if the plan changes.
2. Create the schedule on the target product
In "Schedules → Pre-order → Create new", choose the target product and enter each date with the "Announcement" phase kept in the flow. Entering the announcement start shows the signup form from that time. The pre-order start is required; from that time the button switches to "Pre-order". The shipping estimate text appears as-is under the button, and if the number you accept has a cap you can set a "pre-order limit" too.
Dates are saved in the store's time zone. Phase switching runs in processing that fires about every 5 minutes and can be delayed by up to about 5 minutes, so avoid guidance that assumes "the notification arrives at the exact start time".
Note that the "launch notification" is sent when pre-order (or made-to-order) intake begins. If you want to collect signups through an announcement only and move straight to regular sales without a pre-order phase, check with a test product that the notification is sent at the timing you intend before running it live.
3. Check the calendar and the product page
After setting up, check the order of dates in the calendar view, and once the announcement phase begins, look at the real product page to see the signup form is showing. If the form does not appear, check that the theme's "app embed" is switched on.
The switching mechanism and the details of operating around the launch time are covered in the article on launch-time switching. Per-screen operations are also collected in the SellRules guide.
Test the notification with your own address
Before going live, run through the whole flow from signup to notification with your own address. Once the pre-order start time you set has passed, the "launch notification" is automatically sent to registrants not yet notified.
- Create a schedule with an announcement phase on a test product and set the pre-order start a few minutes ahead
- Register your own email address on the product page (a "Pending" row is added to the Waitlist)
- Once the pre-order start time passes, check the email that arrives and the "Delivery log" (success is the notification showing "Sent")
The email text can be checked and edited under "Settings → Email templates" in the "launch notification" template, and "Send test" delivers an email with "[Test]" in front of the subject so you can confirm what arrives without creating a real order. Keep the sender (reply-to) an address on your own domain. Free-mail addresses are easily judged as spoofing and can be why mail does not arrive.
When nothing arrives, check in this order: a typo in the recipient address, the spam folder, the status in the delivery log (a "Failed" row can be opened to read the error), and whether the template shows as "Stopped". Opening a delivery-log row shows the exact body that was sent. The detailed order for isolating the cause is collected in the article on notifications not arriving.
Check post-start handling by list status
After pre-orders begin, check "who could be notified" by the statuses in the Waitlist. The list can be filtered by email address, product and status, and the five statuses are "Pending", "Sent", "Excluded", "Unsubscribed by customer" and "Excluded by merchant". Even a signup showing "Sent" can have landed in spam without the person noticing, so if someone reports not receiving it, look at the delivery log together.
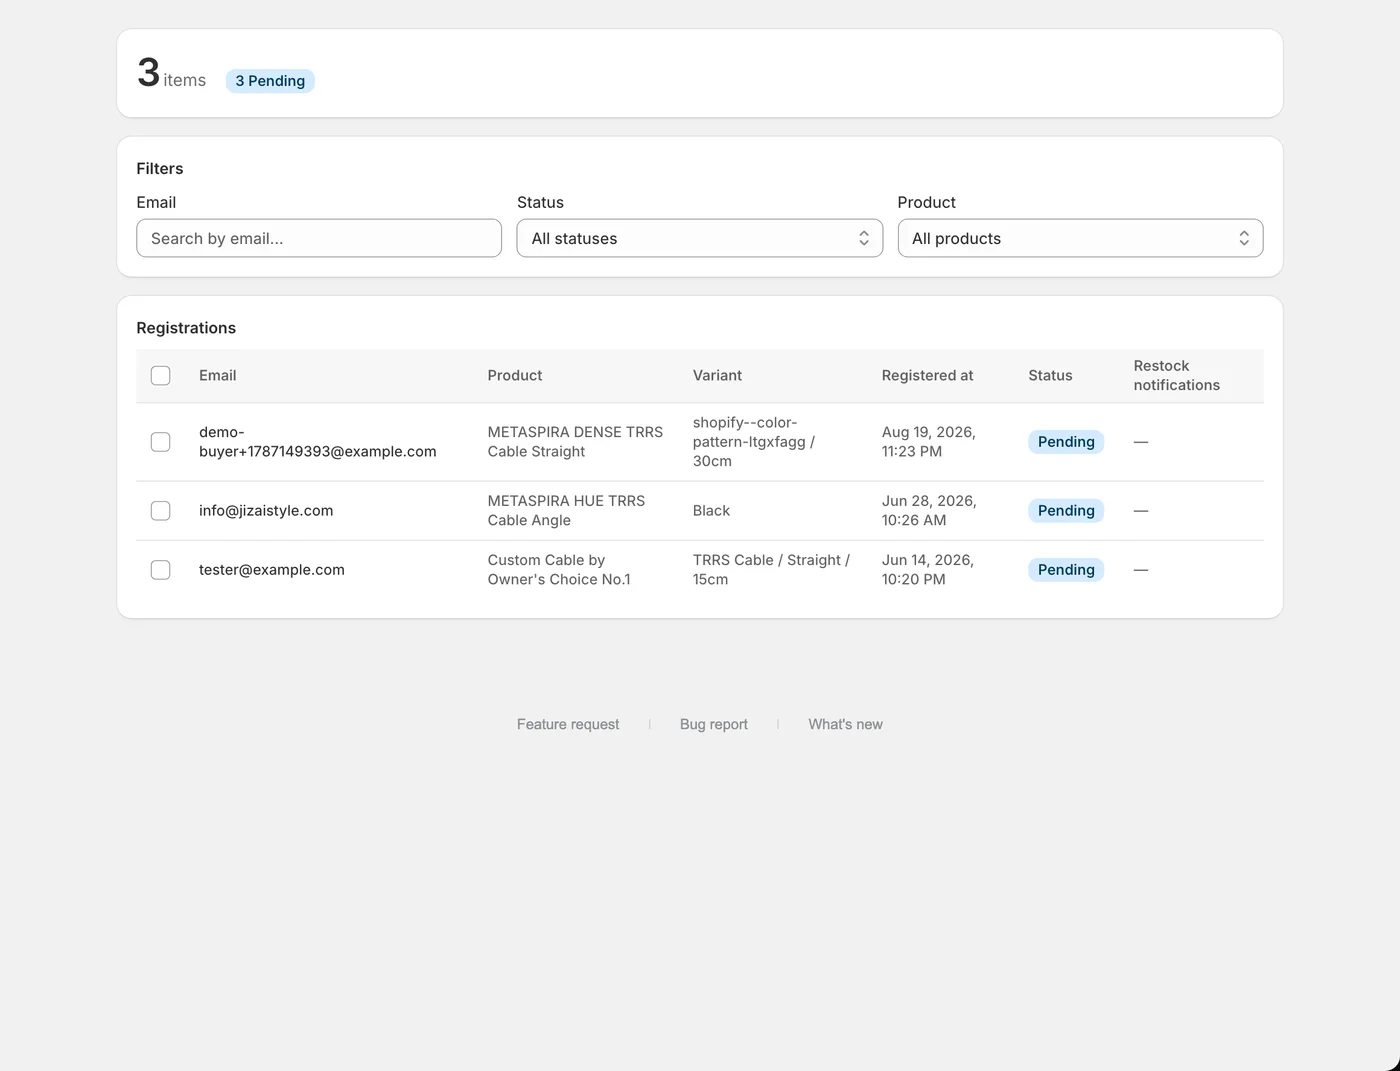
If there are signups you do not want to notify, select them before the start and press "Exclude from sending". They can also be deleted, but a deleted signup cannot be restored, so while you are unsure it is safer to keep to "Exclude from sending".
Once the pre-order start passes, the product page button switches to "Pre-order". Whether a customer who received the notification buys is up to them, so a difference between the signup count and actual orders is not abnormal.
Note that the signups this article covers are for pre-launch announcements — a different mechanism from the "restock notification" used when a product already on sale sells out. Handling sold-out products is covered in the restock notification article.
Frequently Asked Questions
What is the difference between a notification signup and a pre-order?
A signup is keeping a customer's contact details so they can be told when sales begin — it is not an order and does not reserve the product. A pre-order is a purchase made after checking the shipping estimate. Whether to buy after receiving the notification is the customer's decision.
Can I use the signup count directly as a guide for purchasing or production?
Avoid using it directly. A signup is not a purchase guarantee, and not everyone who receives the notification will buy. Treat it as a measure of interest, and decide pre-order limits and shipping preparation through your normal sales planning.
Can the wording on the signup form be changed?
Yes. Under "Settings → Storefront wording" you can edit the signup form text for each language. Returning a field to blank restores the automatic display. Because the default "Notify me when available" suggests a restock, adjusting it to something like "Get the launch notice" for a new product reduces misunderstandings.
What should I check when the pre-order start notification does not arrive?
Check the registered address for typos and the spam folder, then look at that notification's status in the delivery log. If it shows "Failed", open the row to read the error; if it stays "Pending", check the processing timing. Also check that the template is not "Stopped" and that the sender is an address on your own domain.
Try the whole flow from signup to notification at your next launch
Pre-launch notification signup works best in this order: decide what you will say → show the signup conditions → set the schedule → test it yourself → check statuses after the start. Handling questions on launch day gets easier.
The SellRules Launch plan is US$7.99 per month and includes a 10-day free trial. Charges apply if you keep using it after the free trial ends. Check the price and terms on the signup screen.
On the next product you launch, check that the signup form shows and that the notification reaches you.
Features and pricing checked September 18, 2026, based on the Shopify App Store listing and the official guide.
Related articles: Deciding on early-access and limited sales