Shopify × Click Post Shipping Guide: End-to-End Fulfillment from CSV Export to Tracking Sync
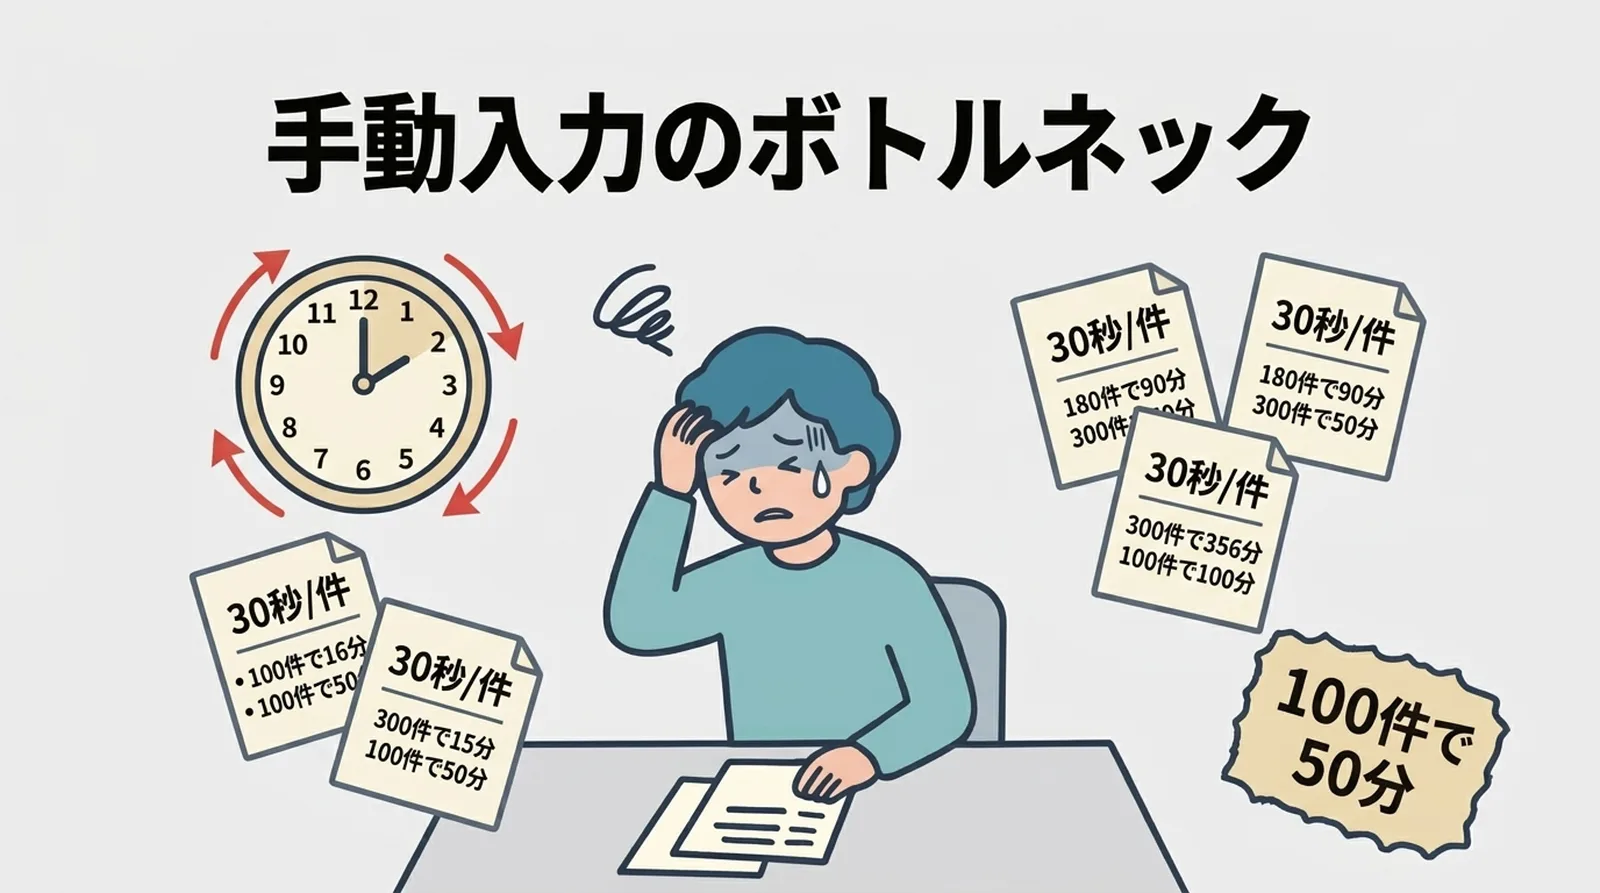
If you fulfill Shopify orders using Click Post, you will inevitably hit a day where CSV exports go smoothly, only for an hour to vanish during manual tracking number entry. Manually typing tracking numbers takes around 30 seconds per order. During a busy season, 100 orders translate to 50 minutes of pure data entry. Watching time slip away retyping tracking codes—hours that could have gone into creating products or marketing—quietly drains the energy of solo store owners.
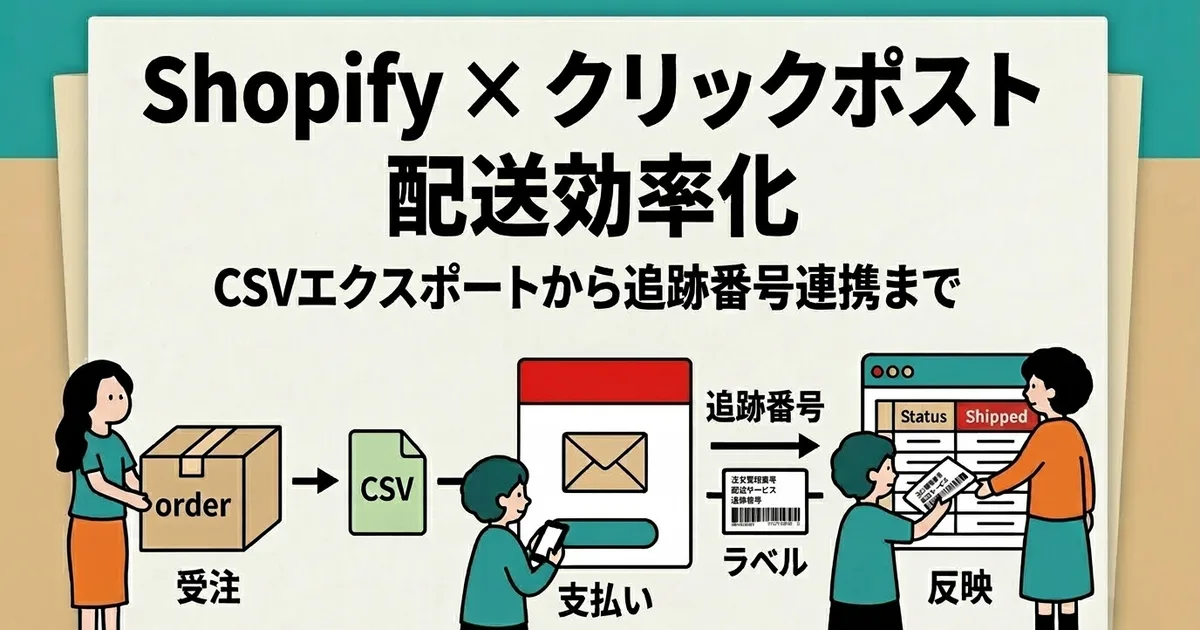
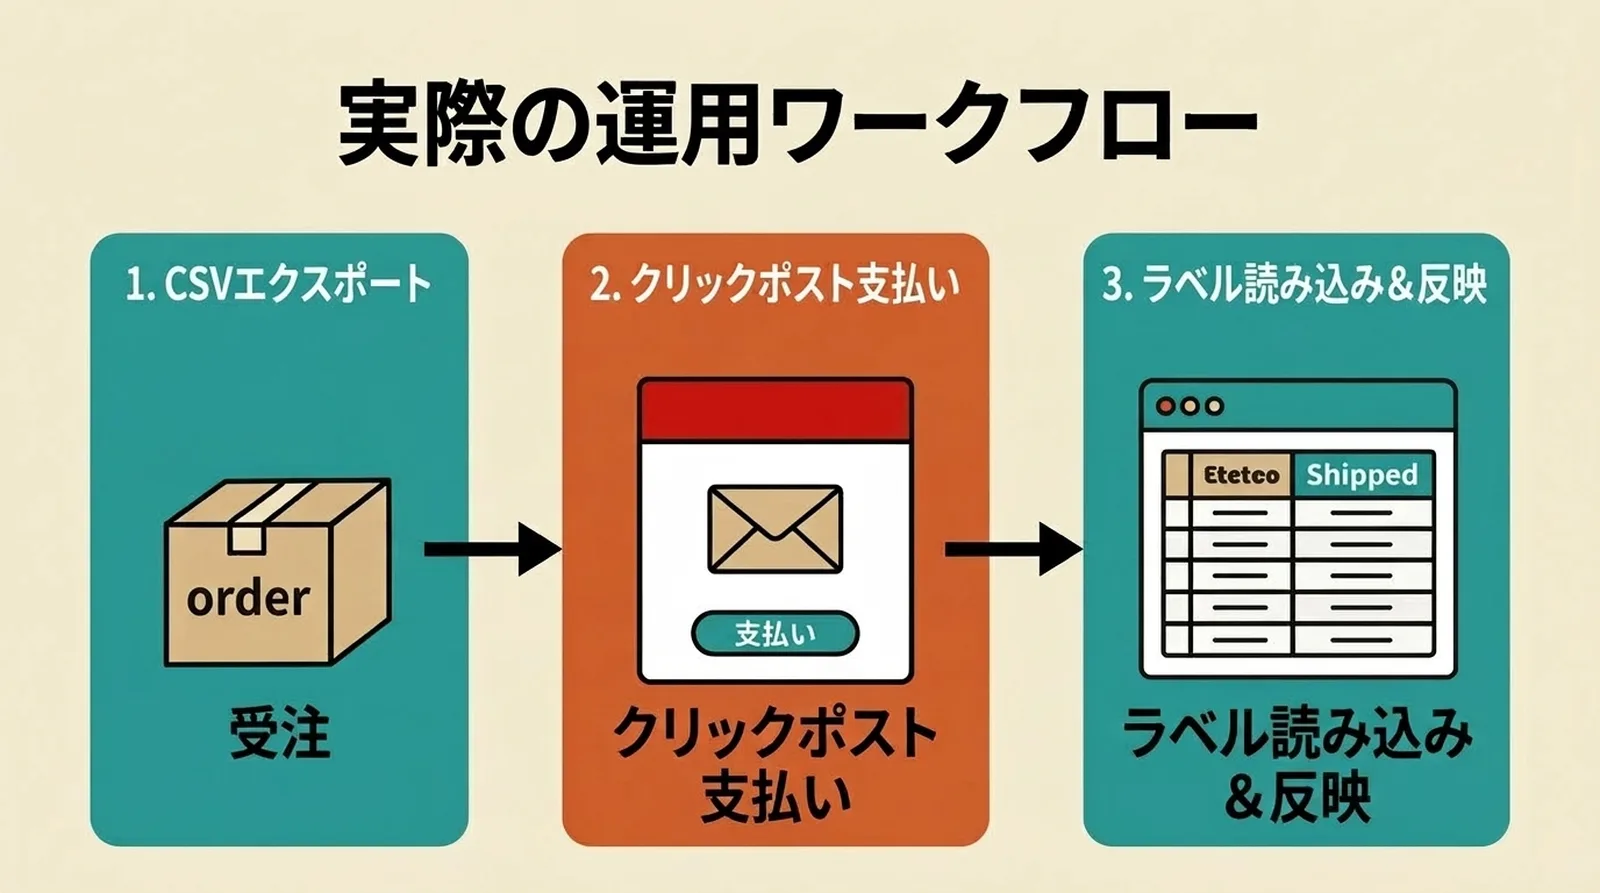
Over the past three years, I have fulfilled more than 2,200 orders through Click Post. Along the way, one realization completely reshaped my workflow: when you redesign the three blocks of fulfillment—CSV export → Click Post bulk application/payment → tracking number sync—as a seamless two-way loop rather than a one-way street, fulfillment time drops dramatically.
In this guide, I break down the common pitfalls in each step and outline an end-to-end system for seamless back-and-forth operations between Shopify and Click Post. Specific topics like handling CSV errors or navigating the 40-order bulk application limit are covered in detail in dedicated guides, so feel free to explore the linked articles if you want a deeper dive.
| Step | Estimated Time | Common Bottlenecks | Detailed Guide |
|---|---|---|---|
| 1. CSV Export | ~1 min for 100 orders | Addresses over 20 chars, character encoding mismatches | Practical CSV Export Workflow |
| 2. Bulk Application & Payment | ~3 mins for 40 orders | 40-order limit per batch, individual payments | Splitting Orders for the 40-Order Bulk Limit |
| 3. Tracking Number Sync | ~10 sec for 100 orders (automated) | ~50 mins for 100 orders with manual entry | How Automated Tracking Sync Works |
If you want to jump straight to a specific topic, here are quick links to related guides addressing the most common fulfillment headaches:
- Packages returned due to address errors or character limits → Preventing Address-Related Returns: Managing Character Limits and Formatting Variations
- Received an address change request after shipping → Decision Flow for Address Changes After Shipment
- Labels won't print or scaling is off → Can't Print Click Post Labels: Troubleshooting Display, Scaling, and Reprinting
- Rethinking your carrier choice entirely → Small Parcel Shipping Comparison: Rates and Size Limits
Why Manual Tracking Entry Persists with Click Post Fulfillment
CSV Export Only Solves One Way of the Journey
Several CSV export apps exist for Click Post. They take your Shopify order data and convert it into Click Post's CSV format for export.
However, these apps only cover the outbound direction: Shopify → Click Post. Once you finish payment in Click Post and tracking numbers are issued, the return leg—Click Post → Shopify—still relies entirely on manual merchant effort.
As discussed in our guide on the practical CSV export workflow, the reality is that while exporting data takes moments, merchants grind to a halt when having to key in tracking numbers afterward.
30 Seconds per Order Quickly Snowballs into a Massive Burden
Manually typing a tracking number takes roughly 30 seconds per order. For 10 orders, that is only 5 minutes. Honestly, if you only ship around 10 orders a day, it might not feel like a major issue.
However, after a promotion, craft market, or seasonal sale, the math changes completely. When I had to enter 100 tracking numbers manually during a peak sales period, it took me roughly 50 minutes. That was 50 minutes spent purely typing numbers, completely separate from packing items and affixing labels.
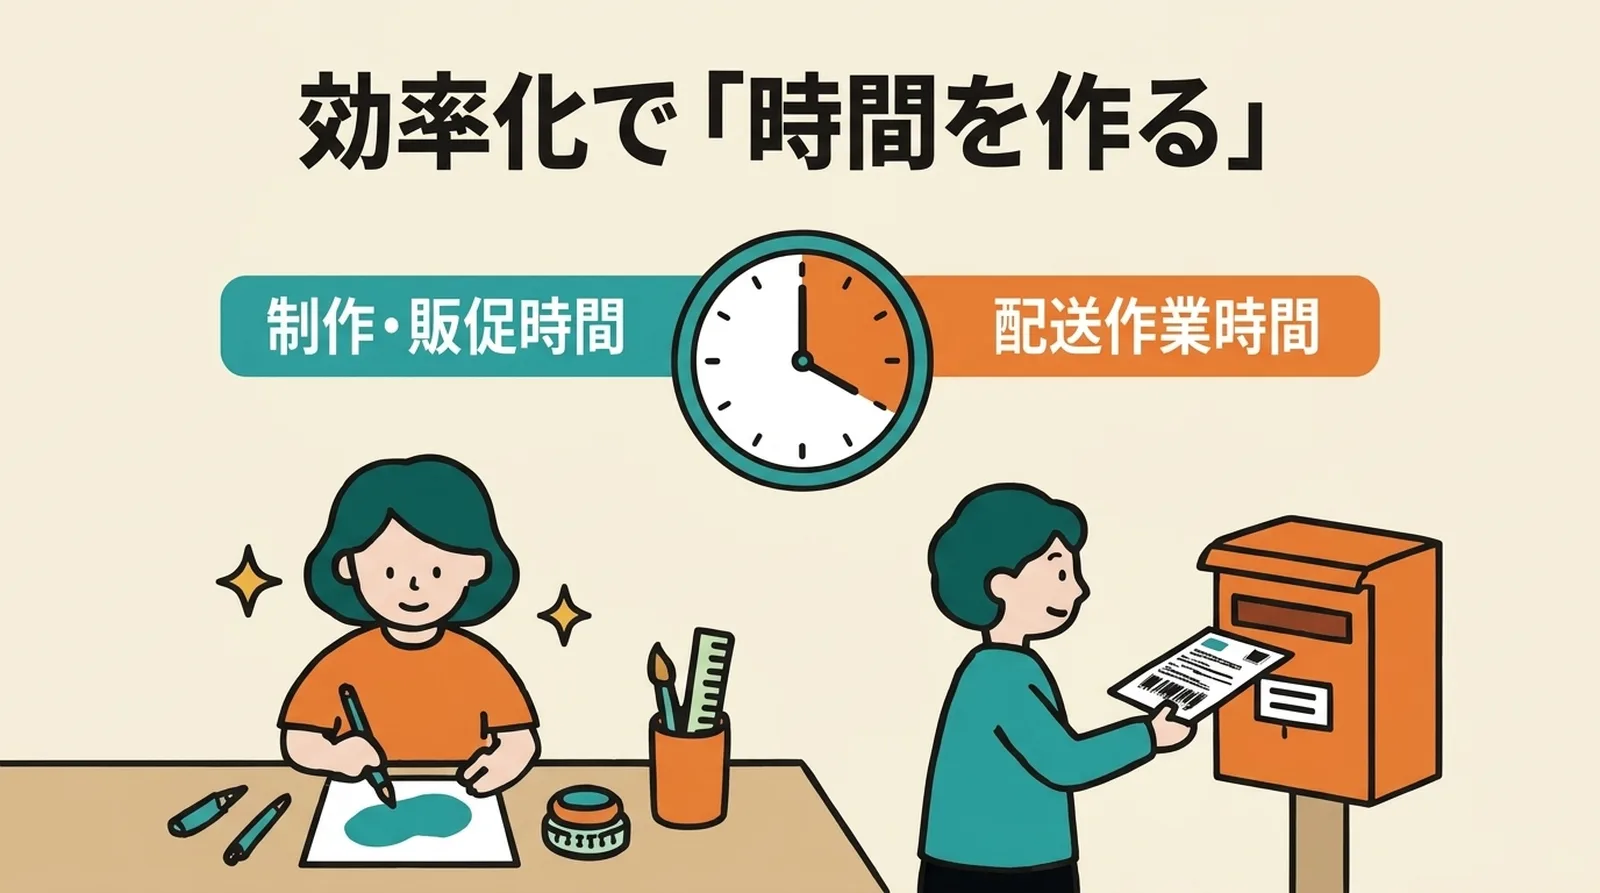
During that time, you cannot craft new products or run marketing campaigns. Thinking, "What a waste of time," was what originally prompted me to pursue automation.
How Automated Tracking Number Sync Works
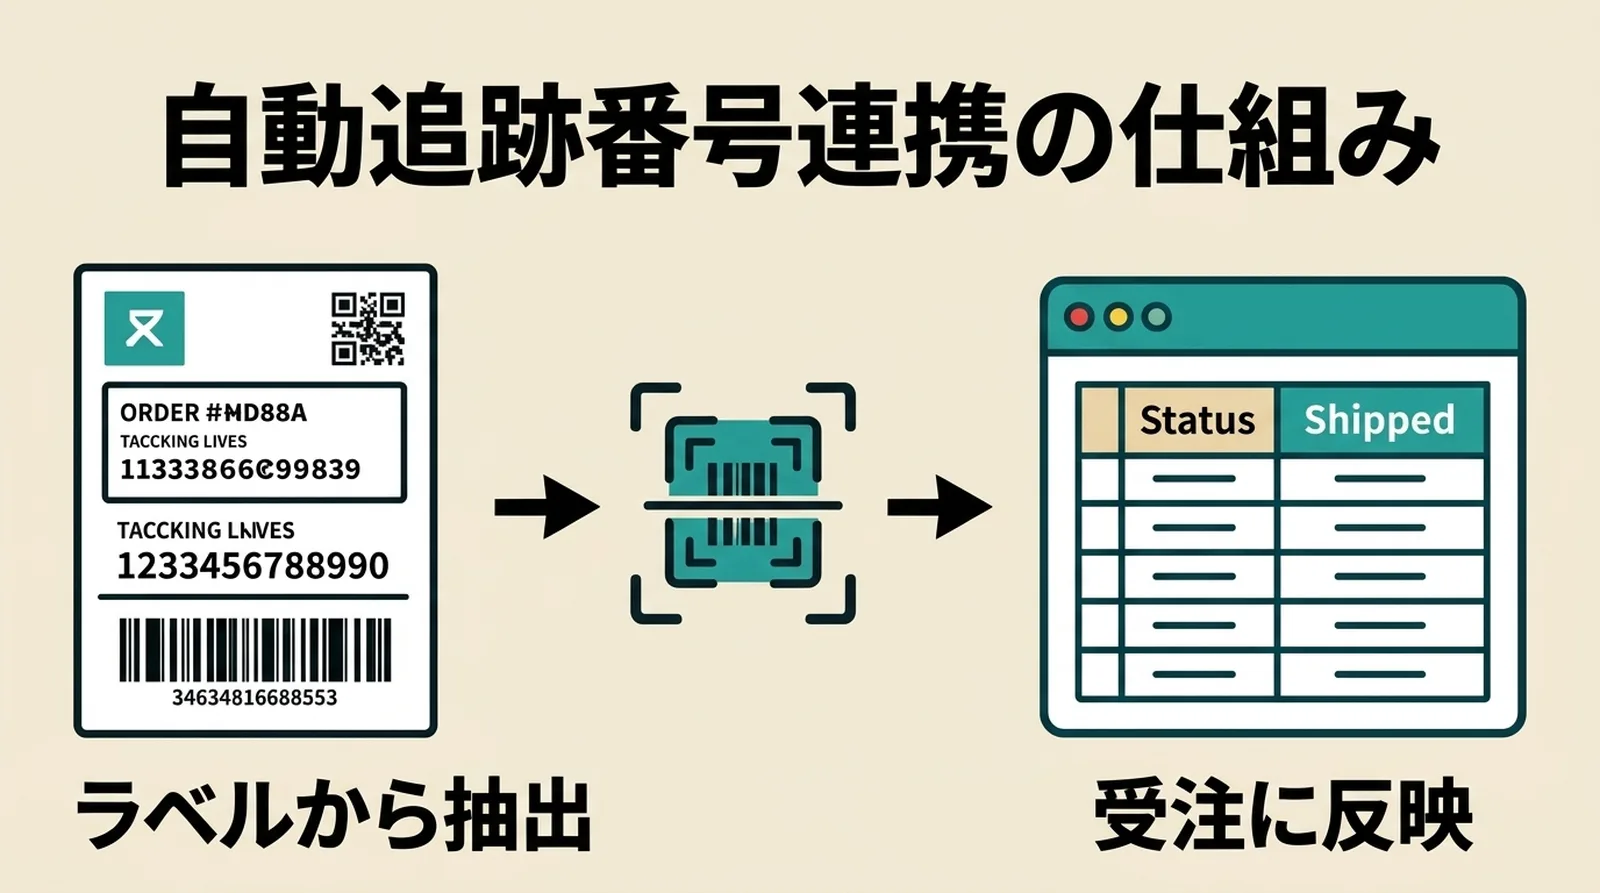
Extracting Tracking Numbers from Labels and Matching via Order Numbers
Once you complete payment in Click Post, you download the shipping label PDF for printing. Each label contains the recipient's name, address, and the tracking number issued by Japan Post.
In other words, all the information needed to link each order to its corresponding tracking number already exists right on the label. The traditional manual approach simply relied on reading that data with your eyes and retyping it into Shopify.
An automated extraction system reads the label data directly and matches it against unfulfilled Shopify orders using the order number as the primary key. Because it identifies orders uniquely by order number, there is zero risk of mix-ups, even when multiple orders share the same shipping address.
Our guide on how to eliminate manual tracking entry dives deeper into how this extraction mechanism works and its real-world accuracy.
Shipping Confirmation Emails Are Sent Automatically
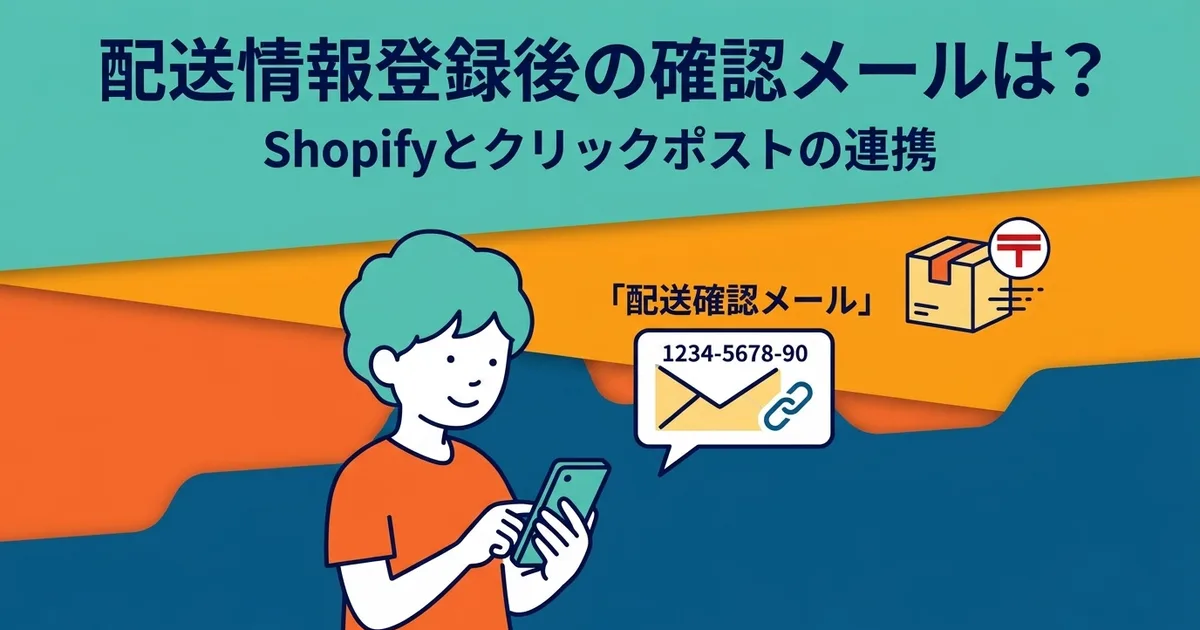
When tracking numbers are synced to Shopify orders, the order status changes to "Fulfilled" (Shipped). At the exact same time, Shopify automatically triggers its standard shipping confirmation email to the customer.
Because this email includes the tracking number, customers can check their delivery status independently. Reducing "Where is my order?" inquiries is a huge operational win for merchants.
The Practical Workflow: From CSV Export to Order Fulfillment
Here is the step-by-step workflow connecting CSV export through to tracking number sync—the exact routine I follow every day at 2:00 PM.
Step 1: Export Order Data from Shopify as a CSV
Open the "Instant Shipping! for Click Post" app, select your unfulfilled orders, and export the CSV. The app automatically formats and splits address data across Click Post's required fields, eliminating any need for manual cleanup after export.
The exported CSV is encoded in Shift_JIS, ready to be uploaded directly into Click Post's Bulk Application without encoding issues.
Step 2: Bulk Application and Payment on Click Post
In the Click Post portal, navigate to "Bulk Application" and upload your CSV file. Once imported, complete payment using either Yahoo! Wallet or Amazon Pay.
There is one important caveat to keep in mind: Click Post's Bulk Application is solely a batch address registration tool—payments must still be authorized one order at a time. Even if you register 40 orders at once, you will still click through 40 individual payment confirmations. Additionally, the CSV upload limit is 40 orders per batch, and bulk label printing ("Bulk Print") handles up to 20 labels per print run (4 labels per A4 sheet).
Step 3: Upload Shipping Labels and Sync Tracking Numbers in Bulk
After payment is complete, download the shipping label PDF and upload it into the app. The app automatically extracts tracking numbers from the labels, matches them with your Shopify orders, and displays the matching results for review.
Verify the matches and click "Register All" to finish. Syncing tracking numbers instantly triggers Shopify shipping confirmation emails to your customers.
| Step | Time Required (for 10 orders) |
|---|---|
| CSV export | ~1 min |
| Bulk application & payment | ~5 mins |
| Label printing, packing & drop-off | ~15 mins |
| Tracking number sync (automated) | ~10 sec |
Not only does this reduce 5 minutes of manual typing to virtually zero, it also prevents headaches caused by typos. We cover the troubles caused by tracking number typos in a separate guide.
How to Choose Between Click Post and Other Shipping Services
Flat-Rate Postage Advantages vs. Size and Weight Constraints
Click Post offers flat-rate nationwide shipping with tracking included. Because items are delivered directly to the customer's mailbox, the recipient does not need to be home. For solo merchants selling small, lightweight goods, it is exceptionally cost-effective.
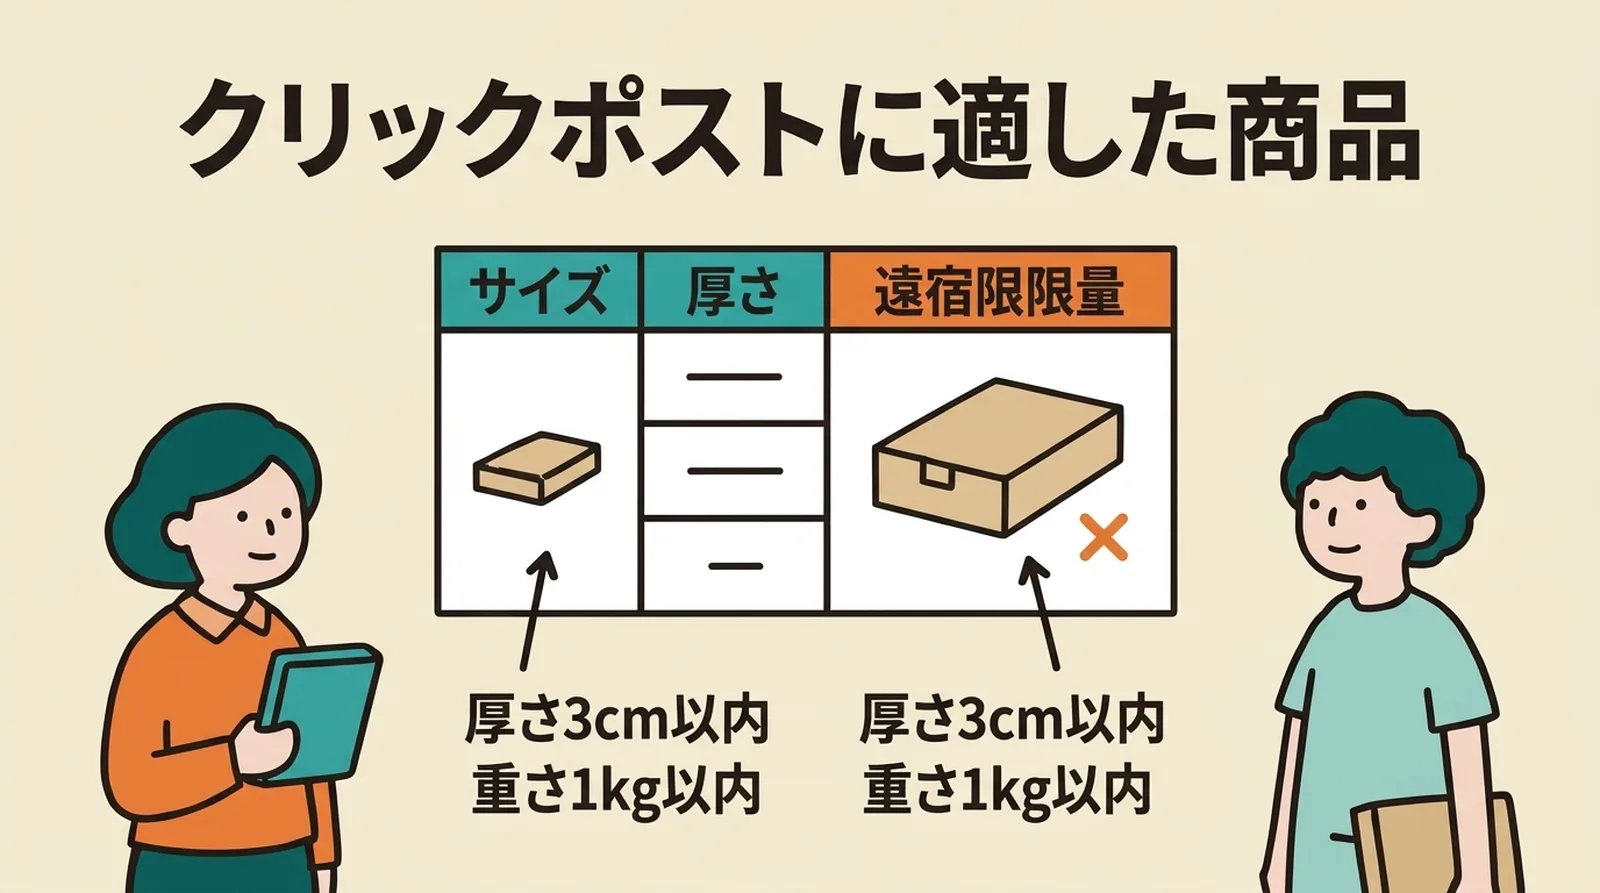
Starting October 1, 2026, the postage rate is scheduled to change from 185 yen to 240 yen (per official announcements as of September 19, 2026). Along with the price revision, size limits will change from "length 34 cm, width 25 cm, thickness 3 cm" to "total 3 dimensions within 60 cm, longest side within 34 cm, and fittable into a standard postbox," while the weight limit increases from 1 kg to 2 kg. Shipments must generally be deposited into postboxes; dropping packages off at post office service counters will be limited to exceptional circumstances. A full breakdown of these updates is available in our overview of Click Post changes in October 2026.
There are, however, clear constraints:
- Size: Up to 34 cm × 25 cm × 3 cm thick through September 30; total 3 dimensions within 60 cm and longest side within 34 cm starting October 1
- Weight: Up to 1 kg through September 30; up to 2 kg starting October 1
- Compensation: None (no reimbursement for loss or damage)
- Mailbox delivery: No signature required upon delivery
Click Post is not suitable for fragile or high-value merchandise. For those items, consider Yu-Packet, Letter Pack, or standard courier (Takkyubin) services.
In our guide on comparing small parcel shipping services, we provide a side-by-side comparison table covering rates, sizes, and features across Click Post, Yu-Packet, Kuroneko Yu-Packet, and Non-Standard Mail. Because your selection criteria will vary based on product dimensions and weight, be sure to also check out what products are best suited for Click Post.
What to Do with the Time Reclaimed Through Fulfillment Efficiency
The True Value of "Making Time" for Handmade Creators
The real goal of streamlining shipping fulfillment is not simply to "take it easy."
When you run a shop on your own, you have to carve out time for everything yourself—crafting products, taking product photography, posting on social media. If you can save 30 minutes a day on shipping tasks, that 30 minutes goes straight back into creating.
In my case, I have maintained a routine for three years where I handle all shipping in one batch at 2:00 PM, reserving my mornings entirely for creative production. When the time required for fulfillment becomes predictable, you can easily plan backwards to determine exactly when you can start making.
In structuring shipping operations to focus on making, I share how to balance production and shipping schedules. For those just getting started with Click Post, getting started with Click Post shipping on Shopify will help you grasp the full picture.
Frequently Asked Questions
Q. How many shipments can be registered in bulk using Click Post's Bulk Application?
You can upload up to 40 orders per CSV batch. For 41 or more orders, split the CSV and upload it in multiple batches. Bulk label printing supports up to 20 labels per print run, printing 4 labels per A4 sheet.
Q. How long does it take to sync tracking numbers?
From importing shipping labels into the app to completing bulk registration, it takes about 10 seconds for around 10 orders. Even as your order volume grows, the time required does not increase proportionally the way manual entry does.
Q. What payment methods are accepted on Click Post?
Payments are processed via Yahoo! Wallet or Amazon Pay. A registered credit card is required.
Summary
Shipping Shopify orders with Click Post consists of three core steps: CSV export, bulk application, and tracking number sync.
Even if you automate CSV exports, fulfillment efficiency stops halfway as long as manual tracking number entry remains. By introducing a mechanism that automatically extracts tracking numbers from shipping labels and syncs them directly into Shopify orders, you finally complete the entire round trip.
When the time required for fulfillment becomes predictable, protecting time for product creation and marketing becomes much easier.
If you want to streamline your shipping operations end-to-end from CSV export through tracking sync, give Instant Shipping! for Click Post a try.
Related Articles
Here are articles organized by category to help you dive deeper into the topics covered in this guide.
October 1, 2026 Revisions
- Click Post Changes in October 2026: Rates, Size Limits, and Drop-Off Methods
- When You Can Drop Click Post at Service Counters: October Exceptions and Postbox Decisions
- Click Post Cutover Prep for Sept 30 – Oct 1: Payment Cutoffs and System Downtime
- What to Check on Your First Shipment After the October Revision | Click Post 240 Yen and New Size Rules in Practice
Shipping Fulfillment Efficiency
- Exporting Addresses in Bulk but Still Typing Tracking Numbers? Take Click Post Shipping a Step Further
- How to Eliminate Manual Tracking Entry: Automated Extraction from Shipping Labels
- Step-by-Step CSV Export from Shopify to Click Post: 100 Orders in ~1 Minute
- How to Build a Workflow to Finish 10 Shipments a Day in 15 Minutes
- Bulk Shipping Procedures Using Click Post's Bulk Application
- What Happens to Shipping Confirmation Emails When Tracking Numbers Are Synced to Shopify
- Task Splitting and Advance Prep to Survive Peak-Season High-Volume Shipping
- Turning Shipping into a Routine: Tips for Finishing at the Same Time Every Day
- How to Write an SOP to Delegate Shipping to Staff or Partners
- Automation Ideas for Shipping Operations Using Shopify Flow
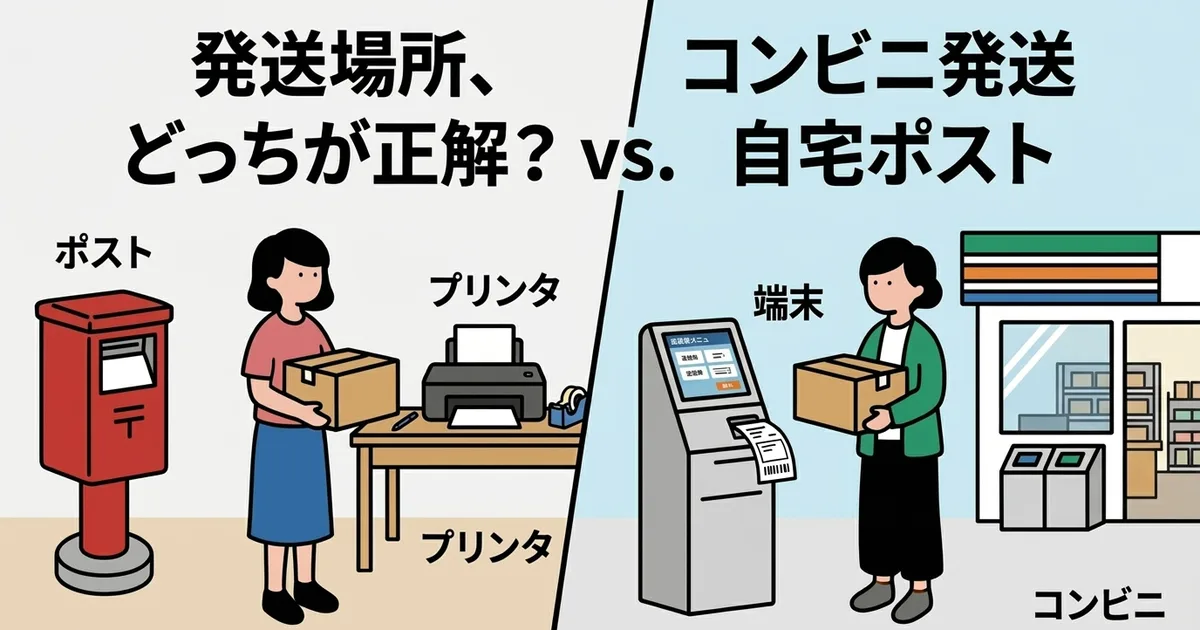
- Shipping from Home vs. Convenience Stores: Pros, Cons, and Workflows
Optimizing Shipping Methods and Costs
- Click Post, Yu-Packet, Kuroneko Yu-Packet, and Non-Standard Mail: Comparing Small Parcel Services
- Nationwide 185-Yen Flat-Rate Click Post: What Products Is It Best Suited For?
- Where Does Free Shipping Become Realistic? Balancing Free Shipping with Profit Margins
- Packaging Hacks to Overcome the 3 cm Thickness Limit and Alternatives When Exceeded
- Why You Should Choose Tracked Shipping Services and the Risks of Untracked Delivery
- Preparing for Shipping Rate Increases: Checkpoints for Reviewing Your Cost Structure
- Including Shipping in Product Prices vs. Charging Separately: Impact on Conversion Rates
- How to Approach Shipping Costs When Handling Returns and Exchanges
- Optimizing Packaging Material Costs: Choosing Envelopes, Cardboard Boxes, and Cushioning
- Packaging and Presentation Tips When Using Click Post for Gift Orders
- Shipping Methods and Key Considerations When Starting International Shipping
Preventing and Handling Shipping Issues
- Troubles Caused by Tracking Number Typos and How to Prevent Them
- Preventing Address-Related Returns: Managing Character Limits and Formatting Variations
- Response Templates for "Item Not Received" and Systems to Reduce Inquiries
- Managing Tracking Numbers for Multi-Package Shipments and Registering Them in Shopify
- Packaging Basics for Click Post to Prevent Water Damage and Breakage
- Verification Checklist to Prevent Accidental Shipping of Cancelled Orders
- Handling Process When a Customer Requests an Address Change After Shipment
- How to Handle Multiple Orders to the Same Address: Decision Criteria for Combined Shipping
Setup and Operations Guide
- Preparations and Steps for Solo Shop Owners to Start Shipping with Click Post on Shopify
- Structuring Shipping Operations to Focus on Making: Balancing Production and Fulfillment
- Creating a Workspace at Home to Handle Fulfillment from Start to Finish
- Setting Estimated Dispatch Dates and Communicating with Customers: Feasible Schedules for Side Businesses
- Shopify Shipping Settings Guide: Shipping Rates, Delivery Zones, and Combining Carriers
- When Solo Entrepreneurs Should Consider 3PL Fulfillment and the Benefits of In-House Shipping
- Writing Specified Commercial Transactions Act Disclosures and Shipping Policies
- Checkpoints When Choosing Shopify Apps: Essential Features for Solo Stores
- Comparing Click Post Shipping Apps: Differences in CSV Export, Tracking Sync, and Address Formatting
- How to Handle Shipping When In-Person Pop-ups and Online Orders Overlap
- Shopify × Click Post: Common Pitfalls and Solutions FAQ