
Addresses Export in Bulk, but Tracking Numbers Still Typed by Hand? One More Step to Easier Click Post Shipping
Your addresses reach Click Post in one batch, but after printing labels you are typing tracking numbers into Shopify one by one. This article covers that "post-shipping number entry" step.
An app that reads tracking numbers from Click Post label PDFs and registers them on Shopify orders can reduce this work. "Instant Shipping! for Click Post" has that feature, and you can test it without stopping your current CSV workflow. Note: this app is developed and provided by JizaiDev, the operator of this site.
List the Manual Work That Remains After Address Export
The manual entry that tends to remain in shipping work is "sending tracking numbers back to Shopify" and "sending shipping notifications." Start by mapping where manual entry remains in your usual shipping tasks.
| Task | What happens when manual entry remains |
|---|---|
| Send addresses to Click Post | Fixing CSV formatting every time |
| Create labels | If you forget to save the original PDF after payment and printing, you cannot bring the numbers back later |
| Register tracking numbers in Shopify | Time spent copying numbers one by one, plus mis-paste errors |
| Notify customers | Forgotten notifications, or duplicate notifications from another method |
One reason only the outbound side got easier is that Click Post has no public API. Integration with Shopify goes through CSV, so while "Shopify to Click Post" is well covered by apps and procedures, the return path — tracking numbers issued after payment — tends to stay manual.
Your current app may already cover what you need. Check its scope first, then compare only the manual work that remains, so you do not end up with more apps than necessary. For a broader comparison of shipping apps, see the Shopify shipping app comparison; for the overall shipping flow, see the Click Post shipping guide.
Let the App Handle Tracking-Number Registration
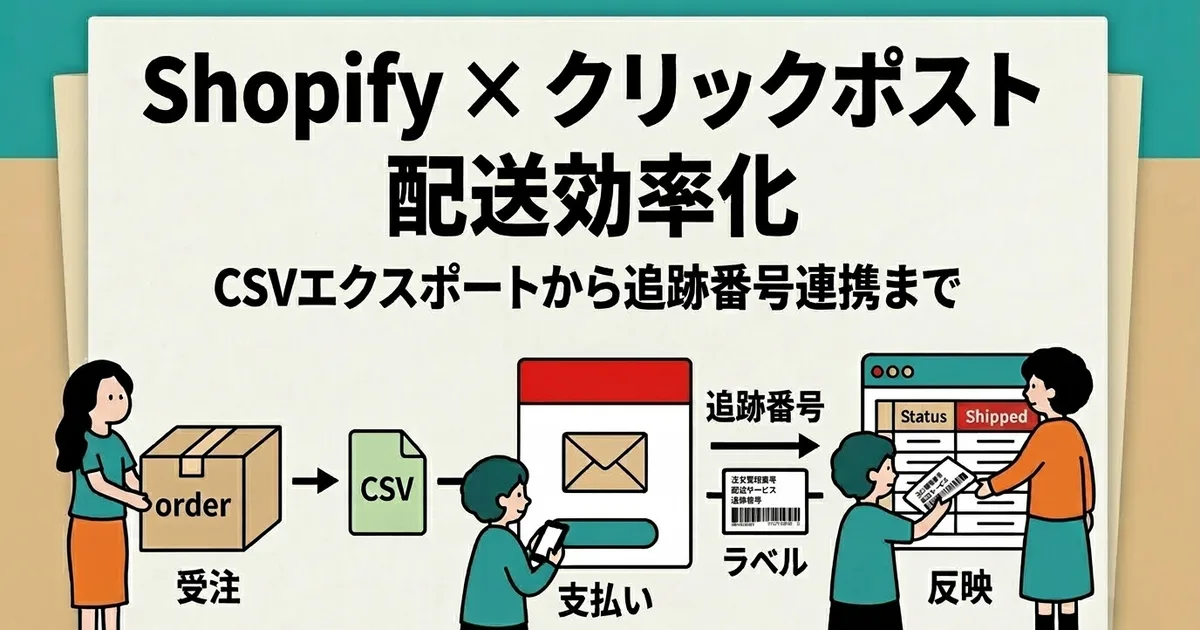
With "Instant Shipping!", the flow from CSV export through tracking-number registration and shipping notification runs in one sequence.
- Select orders and create the CSV. The app lists unfulfilled orders; select the ones you will ship (up to 40 per batch, with the remaining selectable count shown on screen). "CSV export" downloads a Click Post-formatted CSV, and the app handles splitting addresses into four full-width-20-character fields and converting postal codes to half-width characters. Turning on the "include order number in address" option here improves the accuracy of matching orders later.
- Issue labels and keep the PDF. On the Click Post admin site, import the CSV via "bulk application" and proceed through payment and label printing. Bulk application accepts up to 40 items per run, batch label printing is up to 20 per run (four per A4 sheet), and payment is processed per order. Labels are valid for seven days starting the day after payment completes, so avoid issuing a large batch before the migration work. Save the original label PDF downloaded after issuing — you will need it to read the tracking numbers.
- Import the PDF into the app. From the app's "Shipping Notification & Tracking Registration" screen, load the PDF to see the tracking numbers and order candidates. Only the untouched PDF downloaded from Click Post can be imported — up to two files and 80 labels per run.
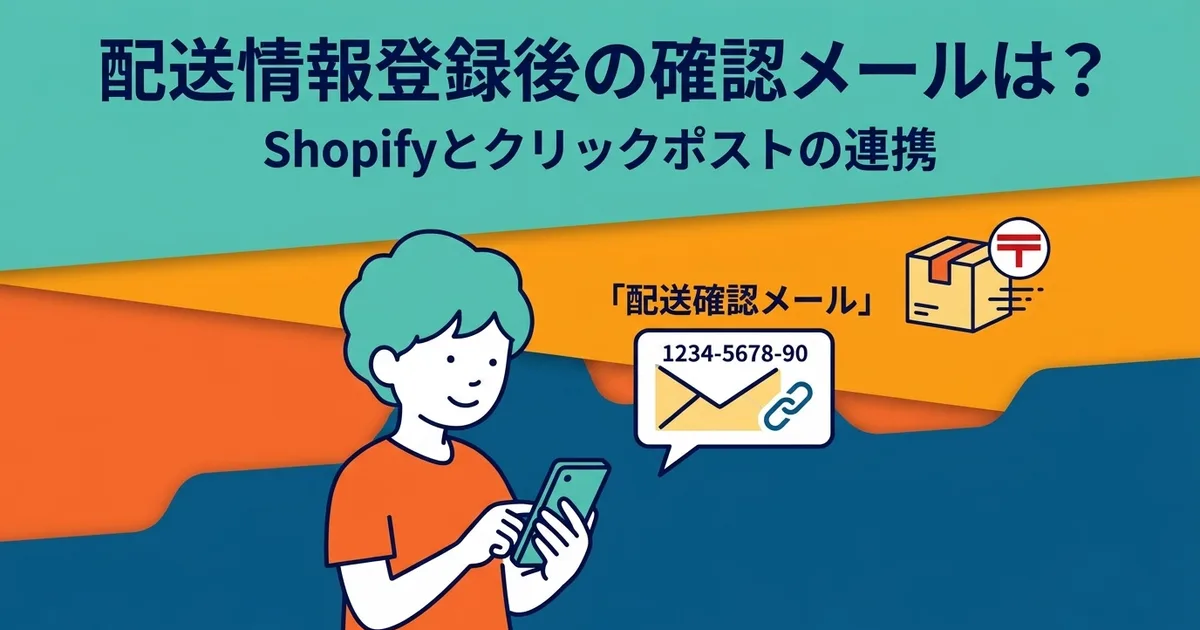
- Review the candidates and register. Confirm the destinations and run registration; orders are updated to fulfilled and shipping notification emails with tracking numbers are sent. Registration is sent in groups of 20, and there is no monthly processing cap.
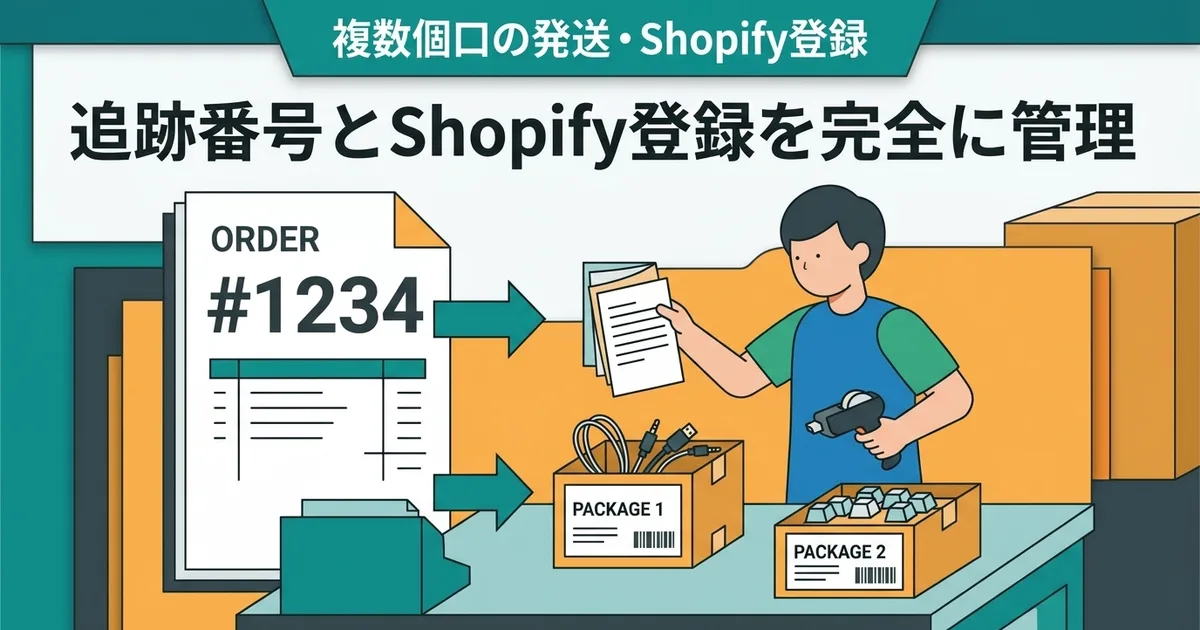
When multiple orders share the same postal code, for example, you need to pick the correct order from the displayed candidates. Automation does not remove the review step, so treat confirming that the right orders were registered as part of the same task.
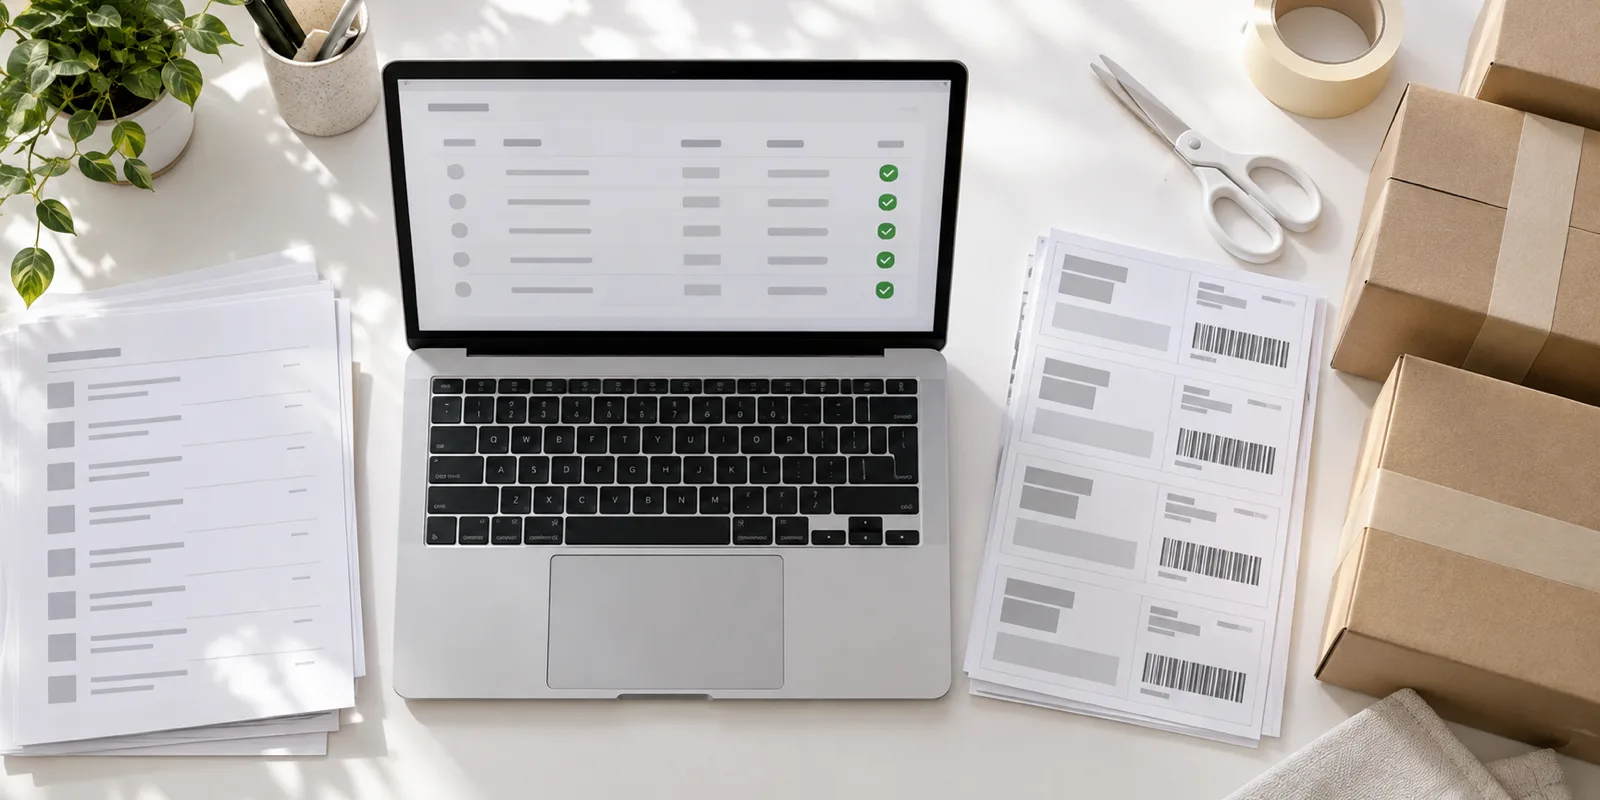
Compared with manual work, what changes is the return path after issuing labels.
| Step | Manual | With the app |
|---|---|---|
| Send addresses to Click Post | Prepare an order CSV by hand, or use an existing export method | Select orders in the app and export the CSV |
| Issue labels | Apply, pay, and print on Click Post | Same (this part does not change) |
| Register tracking numbers | Copy numbers into Shopify one by one | Import the label PDF, review candidates, and register |
| Shipping notification | Sent through a separate step or manual entry | Sent together with registration |
For details focused only on automatic tracking registration, see how to register tracking numbers automatically.
Limit the Switch to Orders You Are About to Process
When old and new methods run side by side on the same day, sort orders into "shipped," "label issued," and "labels not yet created." Limit the test to a small number of orders that still need labels.
- Shipped: Tracking numbers are already registered. Do not make these a migration target.
- Label issued: Numbers are already issued. If you kept the original label PDF, these can be import candidates, but there is no need to re-apply just to switch.
- Labels not yet created: The first test targets. Start with a few orders on a light day.
For example, suppose you have 12 unprocessed orders this morning and 5 labels issued last week. Today you test only 3 of the 12 unprocessed orders. Handle the remaining 9 the usual way, and try importing the 5 issued labels if their PDFs are still on hand. Once the 3 register and notify without problems, widen the scope on the following days.
A file created by your previous app may not work the same way in the new app. If you are unsure how a past order maps, do not push the registration through; check the steps in the user guide first.
Watch out for duplicate notifications and removing the old app
Decide on a Single Sender for Notifications
A shipping notification email is sent at the same time the tracking number is registered. If another app or manual step also sends that notification, customers receive the same email twice. Decide which method is responsible for notifications before you start.
If several people handle shipping, agree in advance on "these orders are registered in the new app." If an error appears mid-test, check what was actually reflected in Shopify before repeating the same registration.
Remove the Old App Only After You Have Seen It Work
Once the first orders complete cleanly — address output, label creation, tracking registration, and notification — expand coverage gradually. Until then, it is fine to keep the previous method in place.
Before ending the previous app, check the following items first.
- Remaining work (orders in progress, unsent notifications)
- Data you want to keep (past CSVs, label PDFs, export history)
- How the contract ends (stopping use of the screens does not necessarily stop billing)
Frequently Asked Questions
Can I register tracking numbers for labels that are already issued?
If you kept the original label PDF downloaded from Click Post, it can be an import candidate. You do not need to re-apply just to switch, though. Starting with orders you are about to ship is the safer route.
Does registering a tracking number also send a shipping notification email?
Yes. Registration updates the order to fulfilled and sends a shipping notification email with the tracking number. If another method sends the same notification, customers will receive it twice, so decide on a single sender.
Can I use it alongside other shipping apps?
You can, but assign responsibility by order so the same order is never processed in both.
What if the label PDF cannot be imported?
Check whether it is the original PDF downloaded from Click Post. PDFs scanned from paper, or edited or merged in other tools, cannot be read. See the PDF import troubleshooting steps for details.
Does the US$8 monthly fee include Click Post shipping charges?
No. The US$8 is the app subscription fee; shipping charges and printing and packing costs are separate.
Pricing and How to Try It
The monthly fee is US$8, with a 10-day free trial. Charges apply if you continue after the trial, and Click Post shipping charges are separate.
Try tracking-number registration free for 10 days
What you are comparing is not the number of features but how much manual entry disappears from your usual shipping work. For how to run the evaluation, see how to test during the 10-day free trial. If address export is already easy, the next thing to try is bringing tracking numbers back.
Sources for features and pricing: official guide and the Shopify App Store. Checked on September 16, 2026.