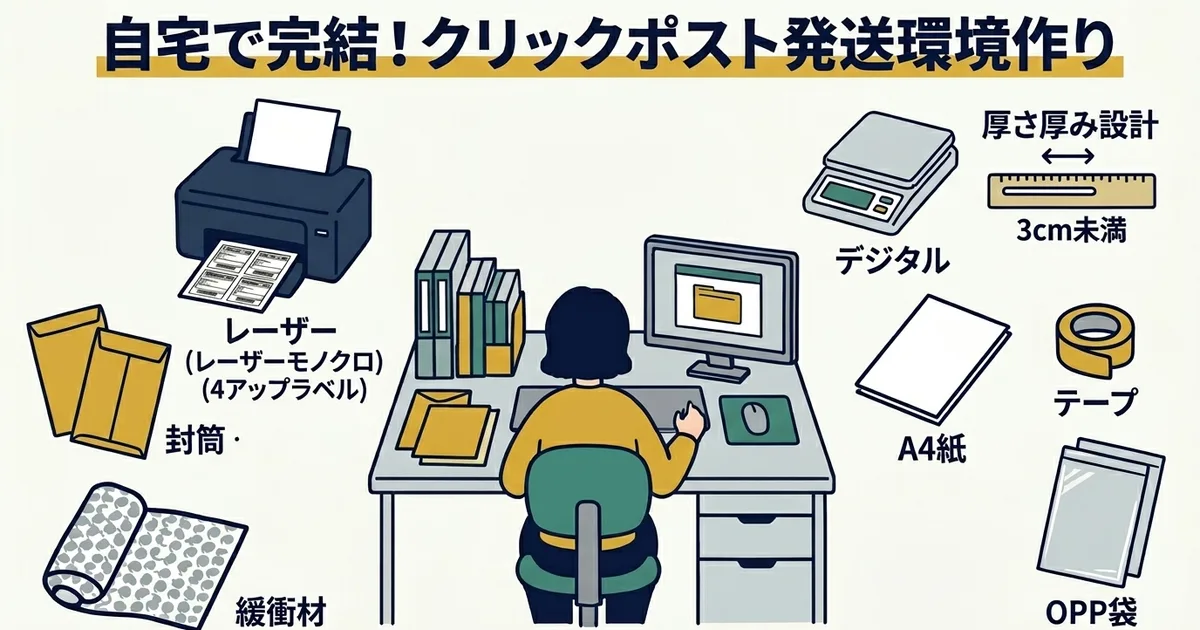
How to Set Up a Home Shipping Workspace
If you want to handle everything from production to shipping at home, the biggest question is usually not Can I do it? but What exactly do I need and where should it go?
The good news is that a workable Click Post setup is small. You only need a handful of tools and a layout that follows the order of your shipping tasks.
The Basic Tool List
Eight essentials
| Tool | Purpose |
|---|---|
| Printer | Label printing |
| A4 paper | Click Post label printing |
| Digital scale | Weight check under 1 kg |
| Thickness gauge | Confirm the parcel stays within 3 cm |
| Envelopes | Outer packaging |
| Cushioning material | Product protection |
| OPP bags | Moisture protection |
| Tape | Sealing and label attachment |
Most merchants already have some of these. The rest are inexpensive and easy to source.
Choosing a Printer
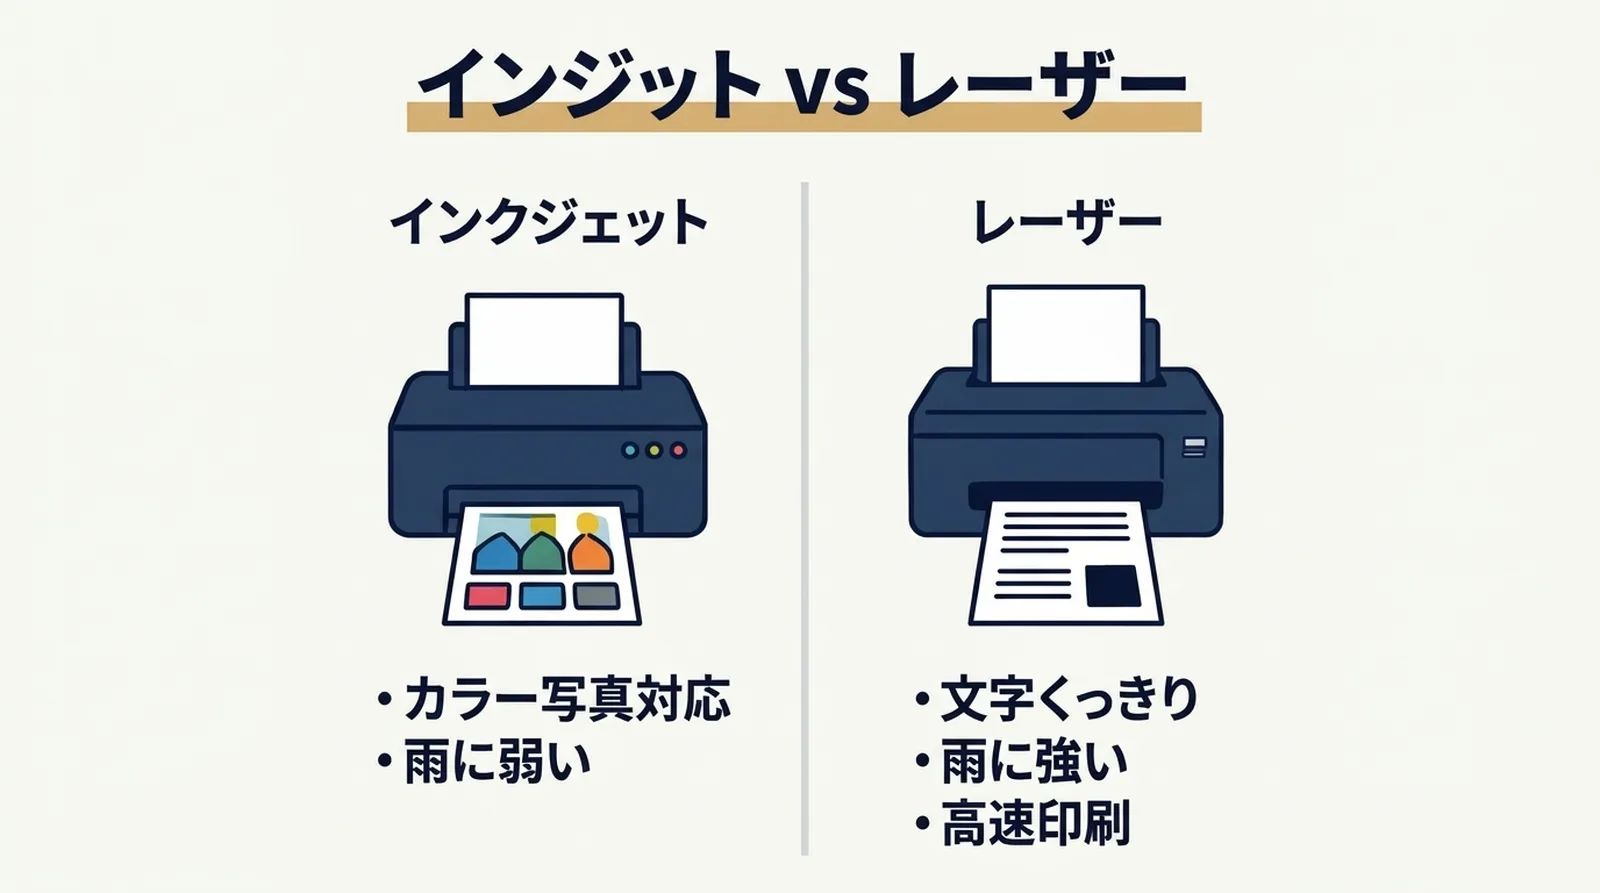
Both inkjet and laser printers can work, but their strengths differ.
| Item | Inkjet | Monochrome laser |
|---|---|---|
| Upfront price | Lower | Moderate |
| Running cost | Higher | Lower |
| Water resistance | Lower | Better |
| Best use | Multi-purpose home use | Frequent label printing |
If you ship often, laser tends to be more stable for labels. If you also print product photos or other color materials, inkjet may be more practical.
Label Printing Basics
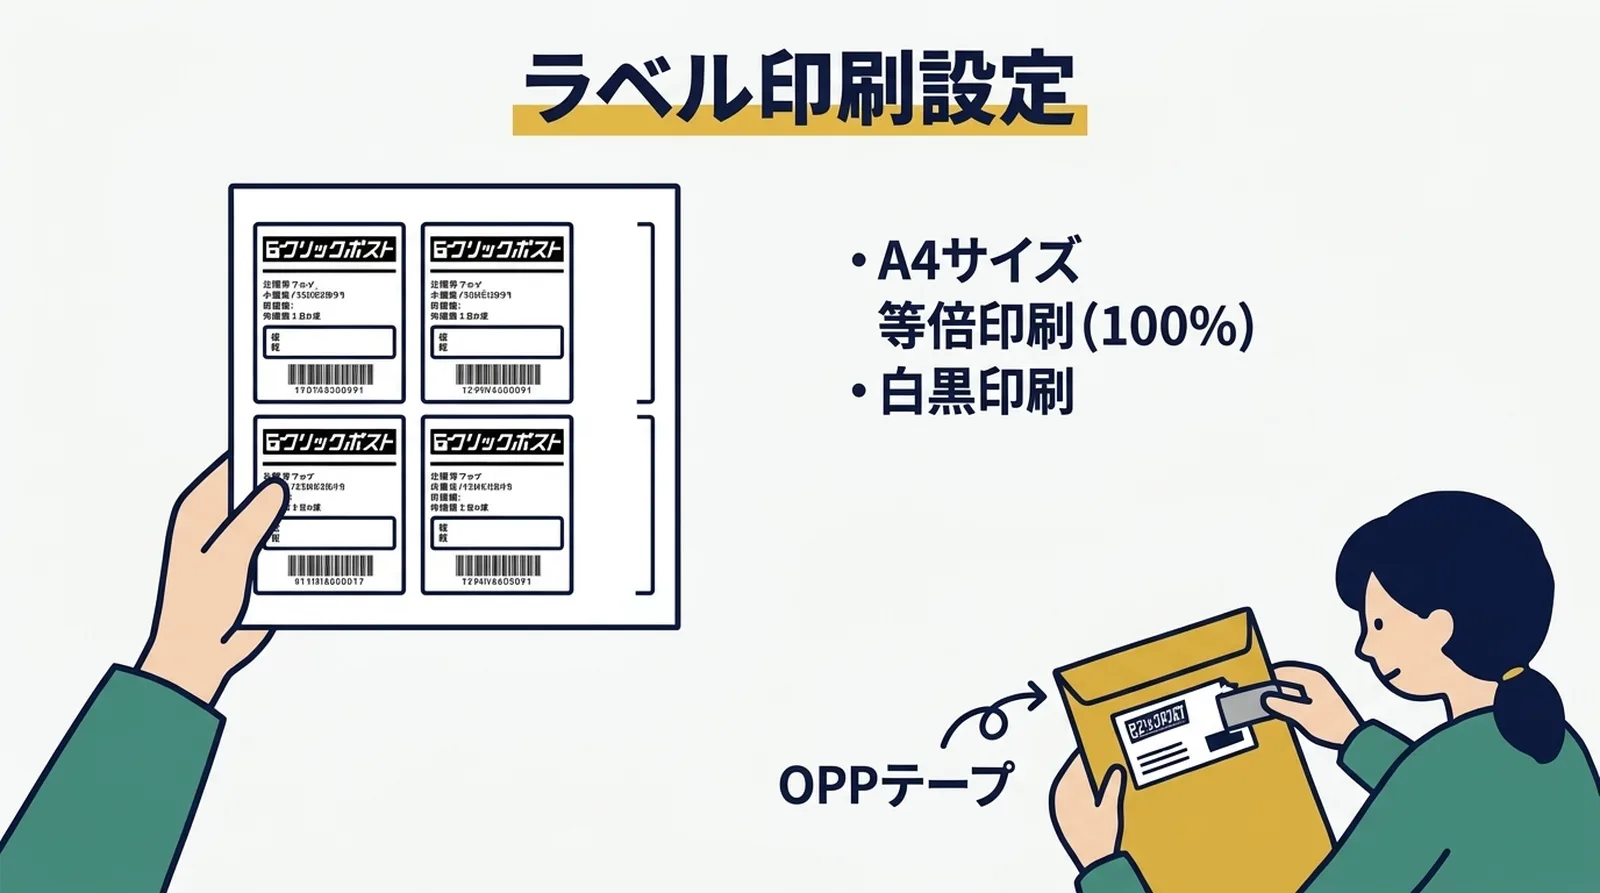
Click Post labels are printed on A4 paper in four sections. The safest settings are:
- A4 paper
- Actual size or 100 percent scale
- Single-sided printing
- Black and white is fine
After printing, cut the sheet into individual labels and attach them securely. Covering the label with clear tape helps protect the print from moisture.
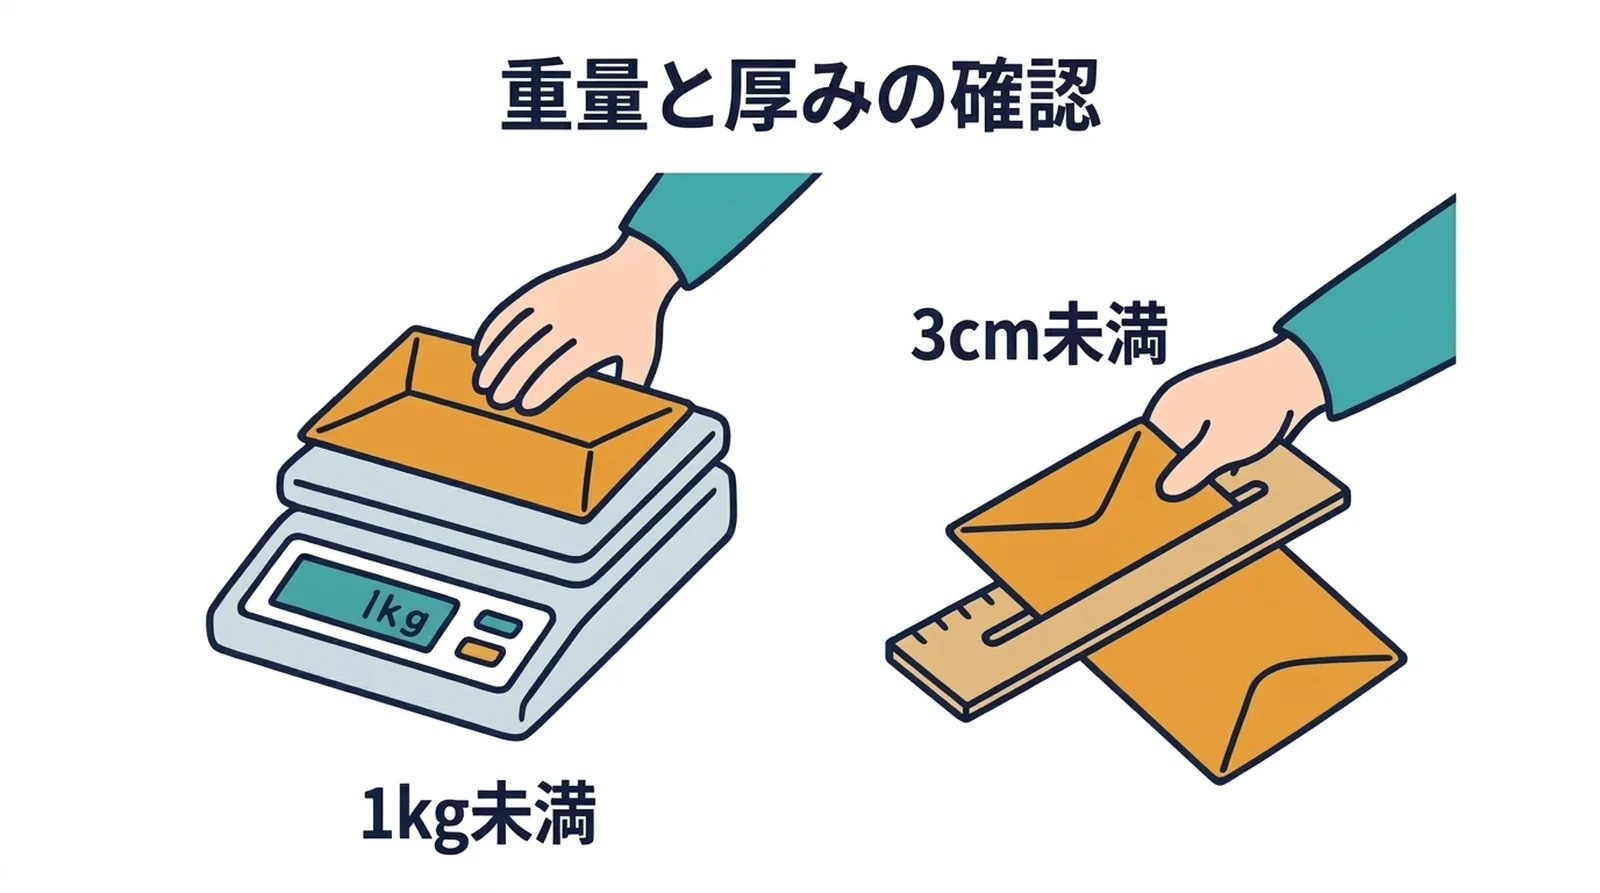
Always Keep the Scale and Thickness Gauge Nearby
The two checks you should never skip are:
- Weight under 1 kg
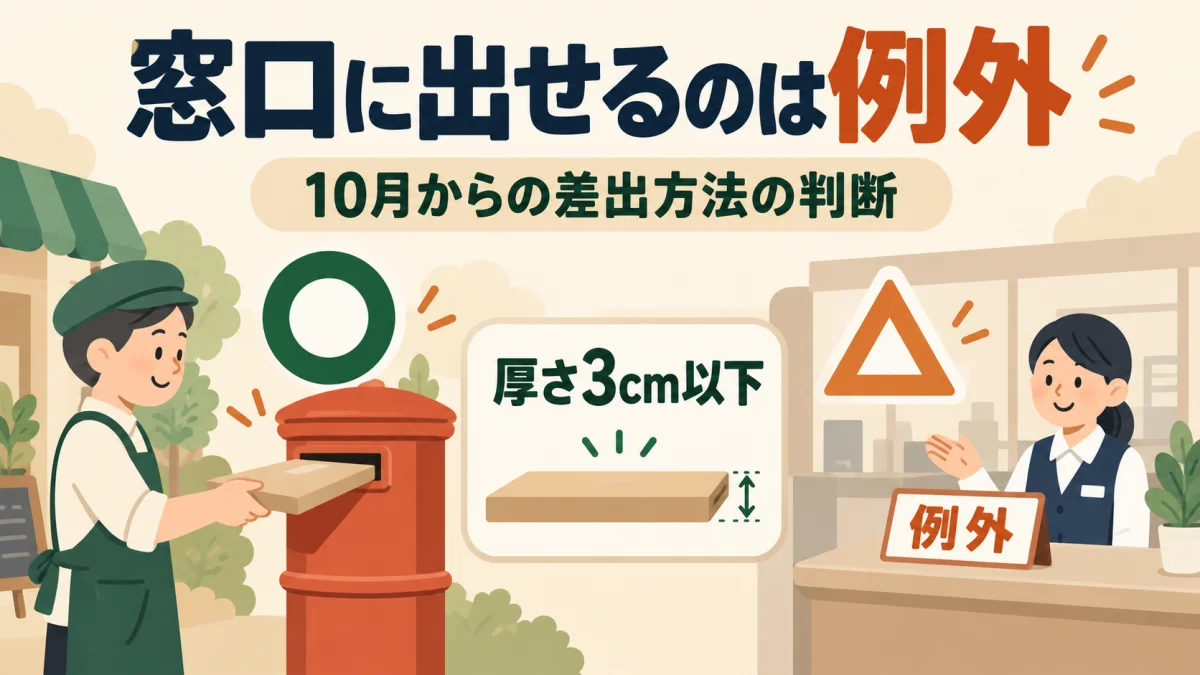
- Thickness under 3 cm
Even if the product itself seems small enough, cushioning and envelopes can push the parcel over the limit. For that reason, the measuring tools should sit right next to the packing space, not in a drawer across the room.
If thickness is a recurring issue, Packing Strategies for the 3 cm Thickness Limit is the related guide to keep handy.
Packing Materials
Start small and learn what fits your products
Do not buy large quantities immediately. Try a small amount first and see how your actual products fit.
Typical combinations:
| Product | Inner layer | Cushioning | Outer packaging |
|---|---|---|---|
| TRRS cable | OPP bag | Usually none | Padded envelope |
| Resin keycap | OPP bag | Miramat | Padded or rigid envelope |
If you want to reduce material cost without overbuying, How to Optimize Packaging Costs is helpful.
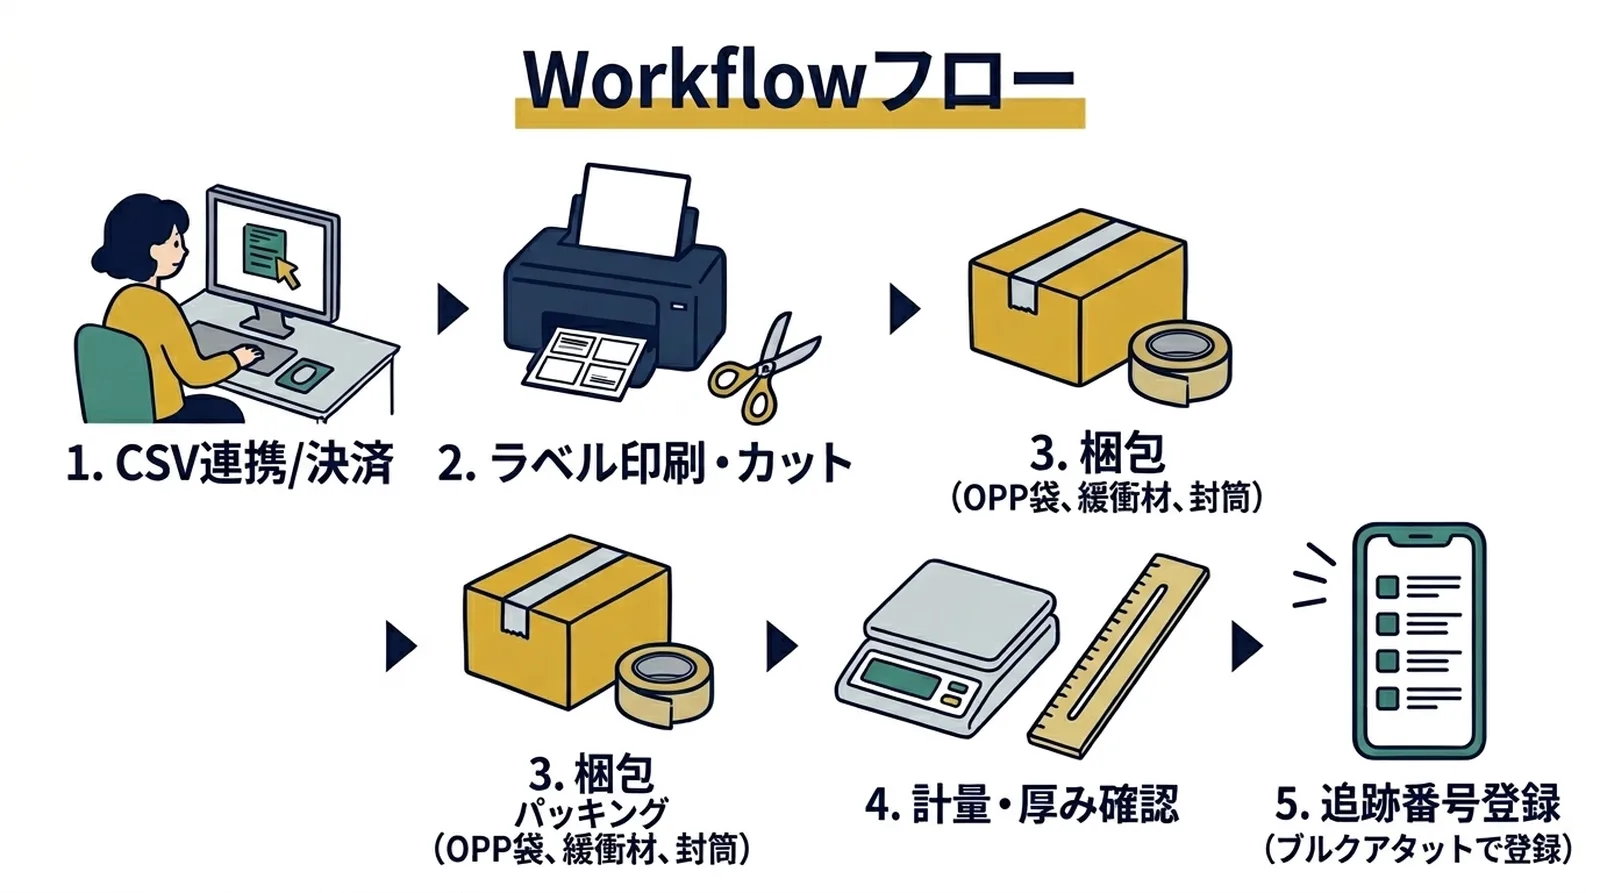
Arrange the Workspace in Shipping Order
The best layout follows the same order as the work:
- Computer for CSV export and payment
- Printer for labels
- Packing area
- Scale and thickness gauge
- Finished parcel staging area
That sequence keeps movement small and prevents rework.
Even if your home space is limited, a rolling cart or one storage box that holds envelopes, OPP bags, cushioning, and tape is enough to create a repeatable shipping zone.
Common Questions
Can I use a convenience-store printer instead of buying one?
Yes, but it becomes expensive and inconvenient if you ship regularly. Home printing usually pays off once shipping becomes routine.
Should I use label sticker paper?
It can save time, but plain A4 paper plus clear tape is usually cheaper and works well.
My workspace is tiny. Can this still work?
Yes. The main requirement is not size, but consistency. Keep the shipping tools together so the setup time stays low.
Summary
A home shipping setup does not need to be elaborate. A printer, measuring tools, basic packing materials, and a layout that follows the shipping flow are enough.
Once that environment is stable, daily Click Post work becomes faster and less mentally tiring. If you also want to simplify CSV export and tracking sync, you can try Instant Shipping for Click Post.